.png)
Create Custom Order Guide - Method 1
If you would like to create a custom order guide (favorites list), follow the steps below:
-
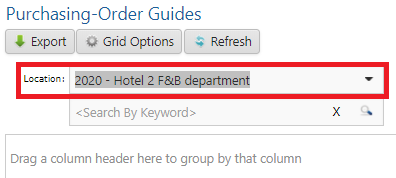
Select View > Purchasing > Order Guides.
-
Select the location you are placing an order for from the Location drop down list, the order guide list will default to your location if you are assigned to only one.
-
Select an Order Guide with items you wish to order
-
Click the blue star next to an item you wish to manage Order Guides for.

-
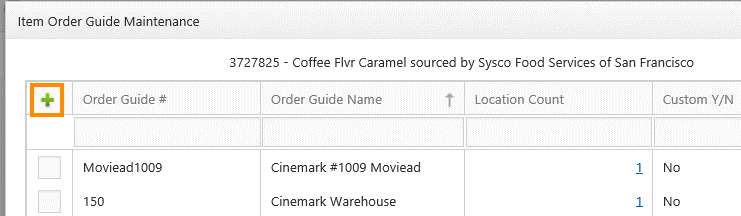
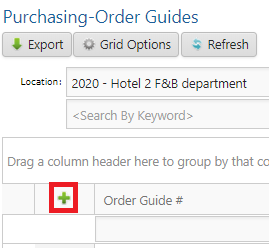
Click the green plus sign button to create a new Order Guide.
-
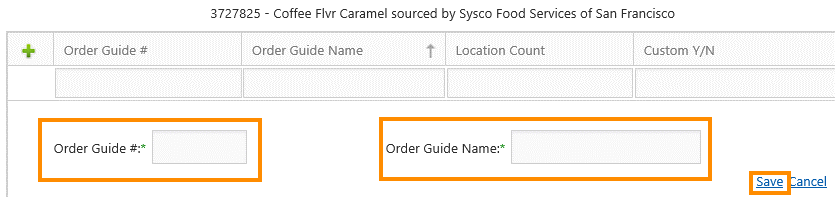
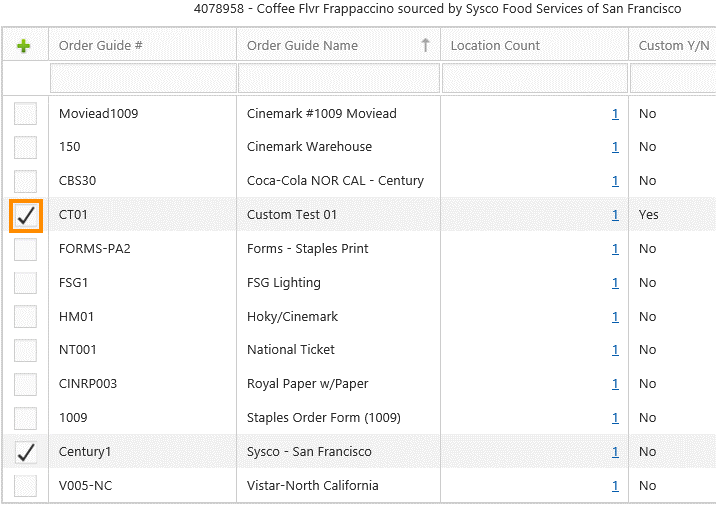
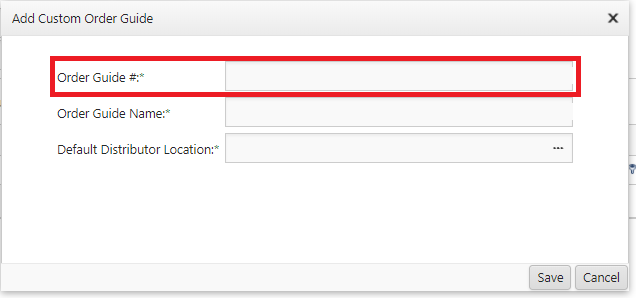
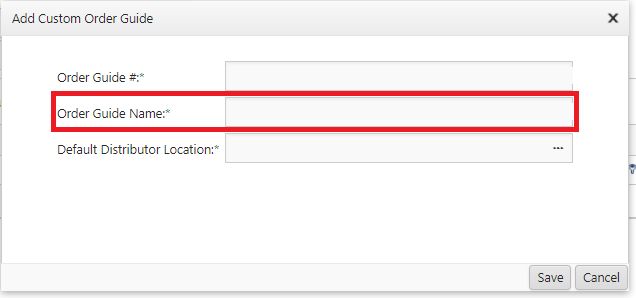
Enter the desired Order Guide # and Order Guide Name in the boxes provided, then click Save to commit the change.
-
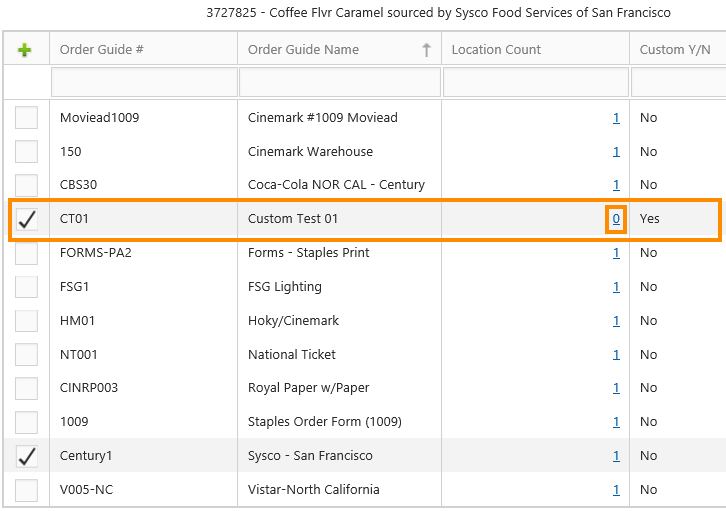
Click the Location Count hyperlink in the corresponding column to add a location to your Order Guide. Note: If you are only assigned to one location, that location will be automatically assigned.
Important
The checkmark indicates that the item you selected is available on the corresponding Order Guide. The item is automatically assigned to the custom Order Guide you just created. You can make the item available or unavailable on other Order Guides by checking or unchecking the boxes.
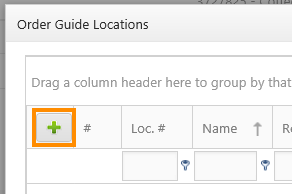
8. Click the green plus button to select a location for your Order Guide.
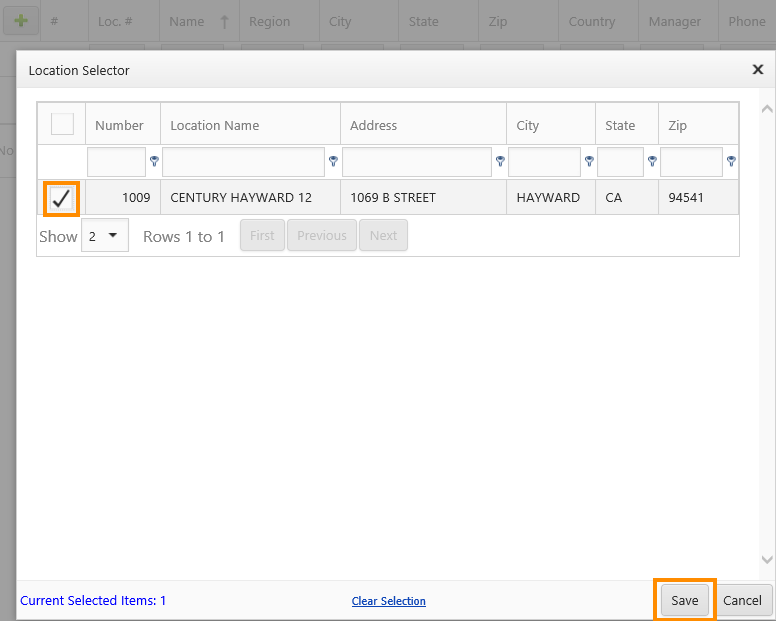
9. Click the checkbox next to the location you wish to attach to your Order Guide, then click Save.
Important
Multiple Locations: If you select more than one location, the Edit Order Guide feature enabling you to do Custom Grouping and Sorting will be disabled, as only Order Guides belonging to a single location can be edited in this way.
10. Click the black X in the top right-hand corner of the Order Guide Locations screen to return to the Item Order Guide Maintenance screen.
11. Click the black X in the top right-hand corner of the Item Order Guide Maintenance screen to return to the original Order Guide to select other products.
12. If you wish to add other items to your new custom Order Guide, click the blue star next to those items, then click the checkbox next to your new custom Order Guide.
Important
Saving: To access your new Order Guide, repeat steps 1-2 then select the new Order Guide from the list.
Create Custom Order Guide - Method 2
If you would like to save an order for later, follow steps 1- 6 from the section above and,
-
Go to View > Purchasing > Order Guides.
-
Select the location you are placing an order for from the Location drop down list, the order guide list will default to your location if you are assigned to only one.
-
Click the green plus sign .
-
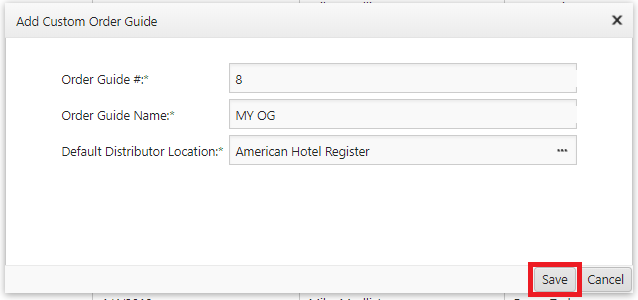
Enter a custom Order Guide # that will make sense to yourself and other users at your location.
-
Enter a custom Order Guide Name that will make sense to yourself and other users at your location.
-
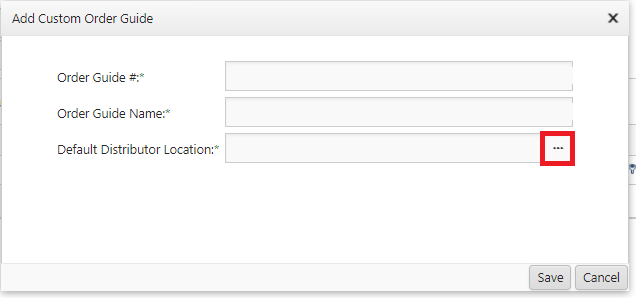
Click the ellipsis to select a Default Distributor Location.
-
A Default Distributor Location is the supplier you wish to add products to this order guide from. Ex. American Hotel Register (Master).
-
-
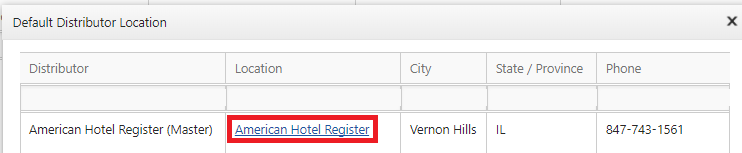
Click the name of the supplier you wish to use.
-
The Default Distributor Location will automatically close > click Save on the resulting window.
-
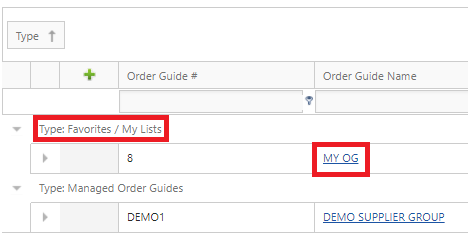
Your new order guide will automatically fall into the Type: Favorites / My Lists category.
-
Click the name hyperlink of your new order guide.
-
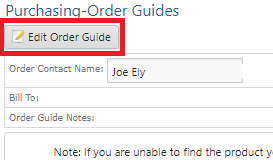
Click the Edit Order Guide button.
-
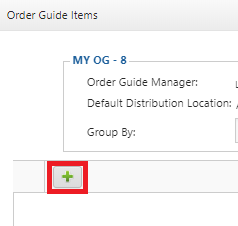
Click the green plus sign .
-
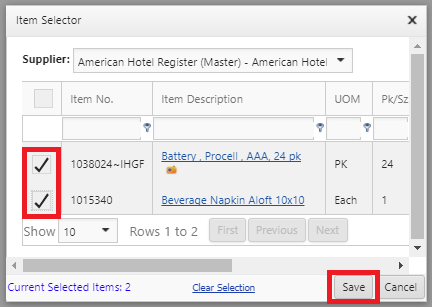
Click the check box next to items you wish to add, then click Save.
Options List
Suggested Order Quantity - This setting must be enabled in the Order Guide Maintenance screen for the specific order guide. This setting goes hand in hand with Inventory information setup in the system. When using the Inventory function to keep track of items, this column will show the suggested quantities to place an order for according to what is available in inventory