.png)
The Location Detail screen allows you to manage your Location’s inventory items.
In the Inventory Scope drop down list, by selecting Inventory Locations Only, ONLY locations with this item setup in their Inventory will populate. By selecting All Locations, all theater locations will populate. To setup a new location for this item, select All Locations.
-
View > Inventory > By Location.
-
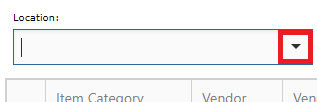
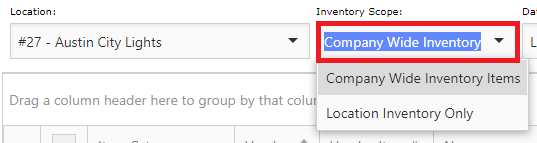
Select a Location from the drop down.
-
For Inventory Scope, select Company Wide Inventory Items. Select All or a specific Inventory Period.
-
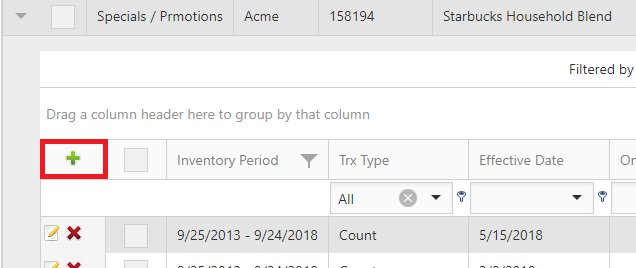
To add a single item > search for item you wish to add > click the expand button (arrow) next to that item > click the Add Record button (green plus sign).
-
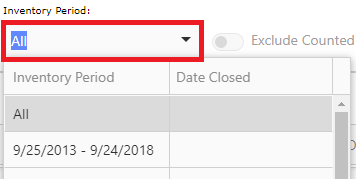
Select an Inventory Period (Inventory Period must be setup for Location).
-
Select a Transaction Type (depending on whether you are bringing Inventory in or taking Inventory out, you will enter On Hand or Delta amount.)
-
Count - Physically counted item in inventory.
-
Stock- increment; when an item is “received” into inventory.
-
Comp - decrement; Complimentary item.
-
Damage - decrement; Damaged item. This differs from Waste and Spoilage.
-
Return - decrement; when an item is returned to the vendor and a credit is requested.
-
Sales - decrement; when an item is sold.
-
Spoilage - decrement; when an item spoils and is not usable or sellable. Age or improper storage of the item is the cause of spoilage.
-
Transfer In - increment; when an item is transferred into inventory from another affiliate location.
-
Transfer Out - decrement; when an item is transferred out of inventory to another affiliate location.
-
Waste - decrement; when an item is wasted during the manufacturing process. This is excess material available but not used during the manufacturing process.
-
-
Select an Effective Date (Inventory can’t be recorded for dates in the future or dates before the beginning date of the inventory period).
-
Enter the number of items On Hand/Delta.
-
Enter any comments or references related to this item > Update.
-
To add multiple items > click the Enter Counts button > Select a Count Effective Date > Enter the number of counts for each item > Close.
Note
-
Counts - Counts entered are automatically saved after tabbing out of the box; a green check mark will verify the Count has been saved.
-
Exclude Already Counted - When selected, excludes items that already have a Count on Record populated.
-
Print - To Print or Export, right click anywhere on the grid and make your selection.
-
Show/Hide columns - Right click anywhere on the grid and select Show/Hide Columns > drag and drop column names into the Field Chooser box (columns will update as you drag and drop) > click the X to close the box.
-
Filtering - To Filter grid information, type keywords into the column headers and hit enter on your keyboard. To clear filters > right click the grid and select Clear Filters.
-
QOH - This step will also apply when updating your item’s QOH. Select ‘Location Inventory Only’, and an Inventory Period.
-
Unit Cost - If an on-hand for an item drops below 0, the unit cost will update to $0 –the unit cost will not repopulate with a non-zero value until a stock event occurs.